Enable Swipe’s Thank You Page Tracking Link
The Thank You Page Tracking Link allows you to connect your consumers to a tracking solution right at the moment of the purchase. This enables tracking to go beyond a follow-up email, and it integrates naturally with the post purchase experience you provide for your consumers.
Follow the steps below to enable Swipe's Thank You Page Tracking Link:
1. Login to the Swipe Portal.
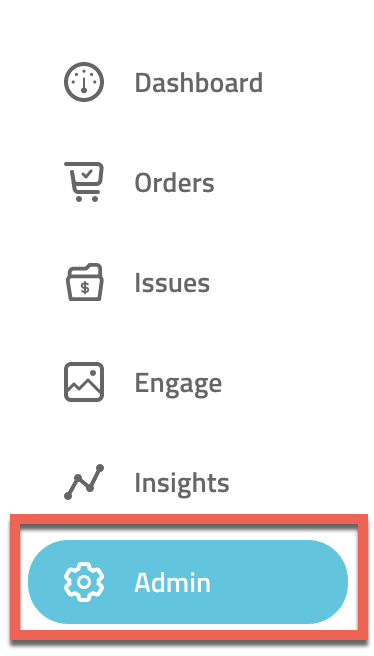
2. In the navigation on the left side, choose Admin.
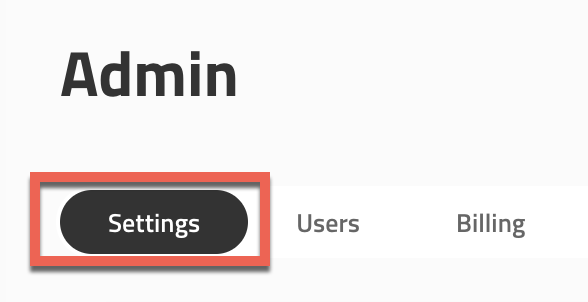
3. At the top of the page, choose Settings.
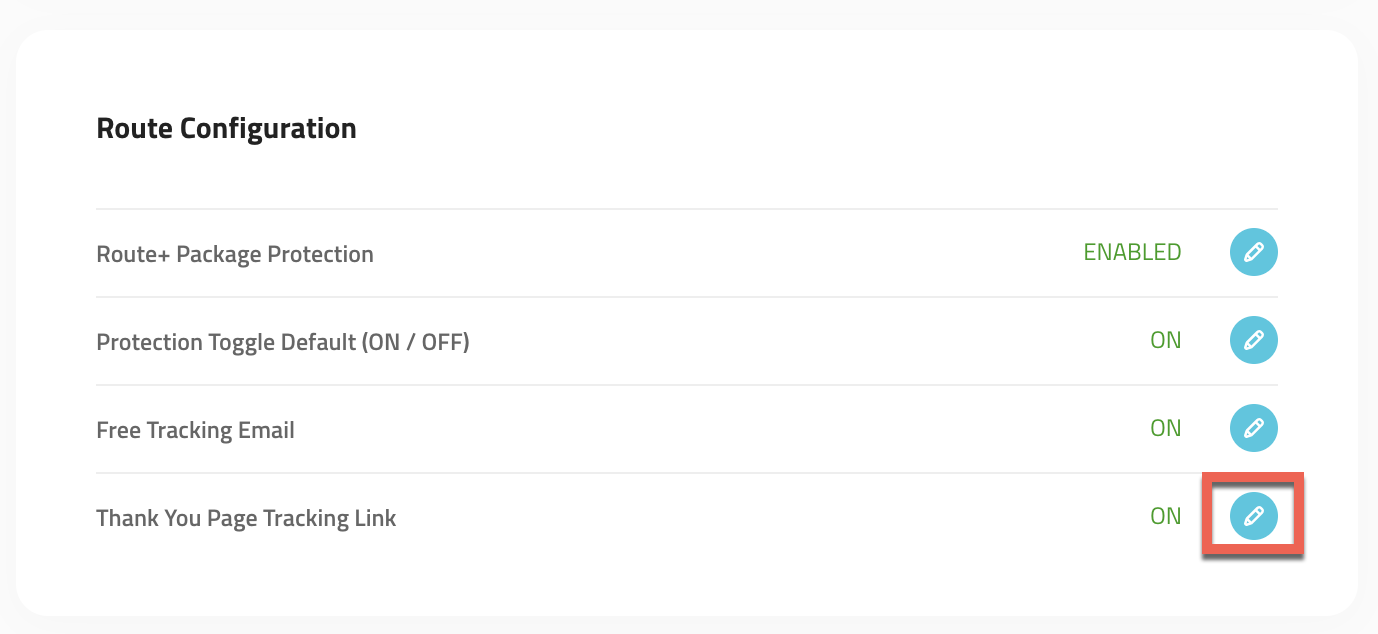
4. Under email Swipe Configuration >Thank You Page Tracking Link, click the pencil icon to edit.
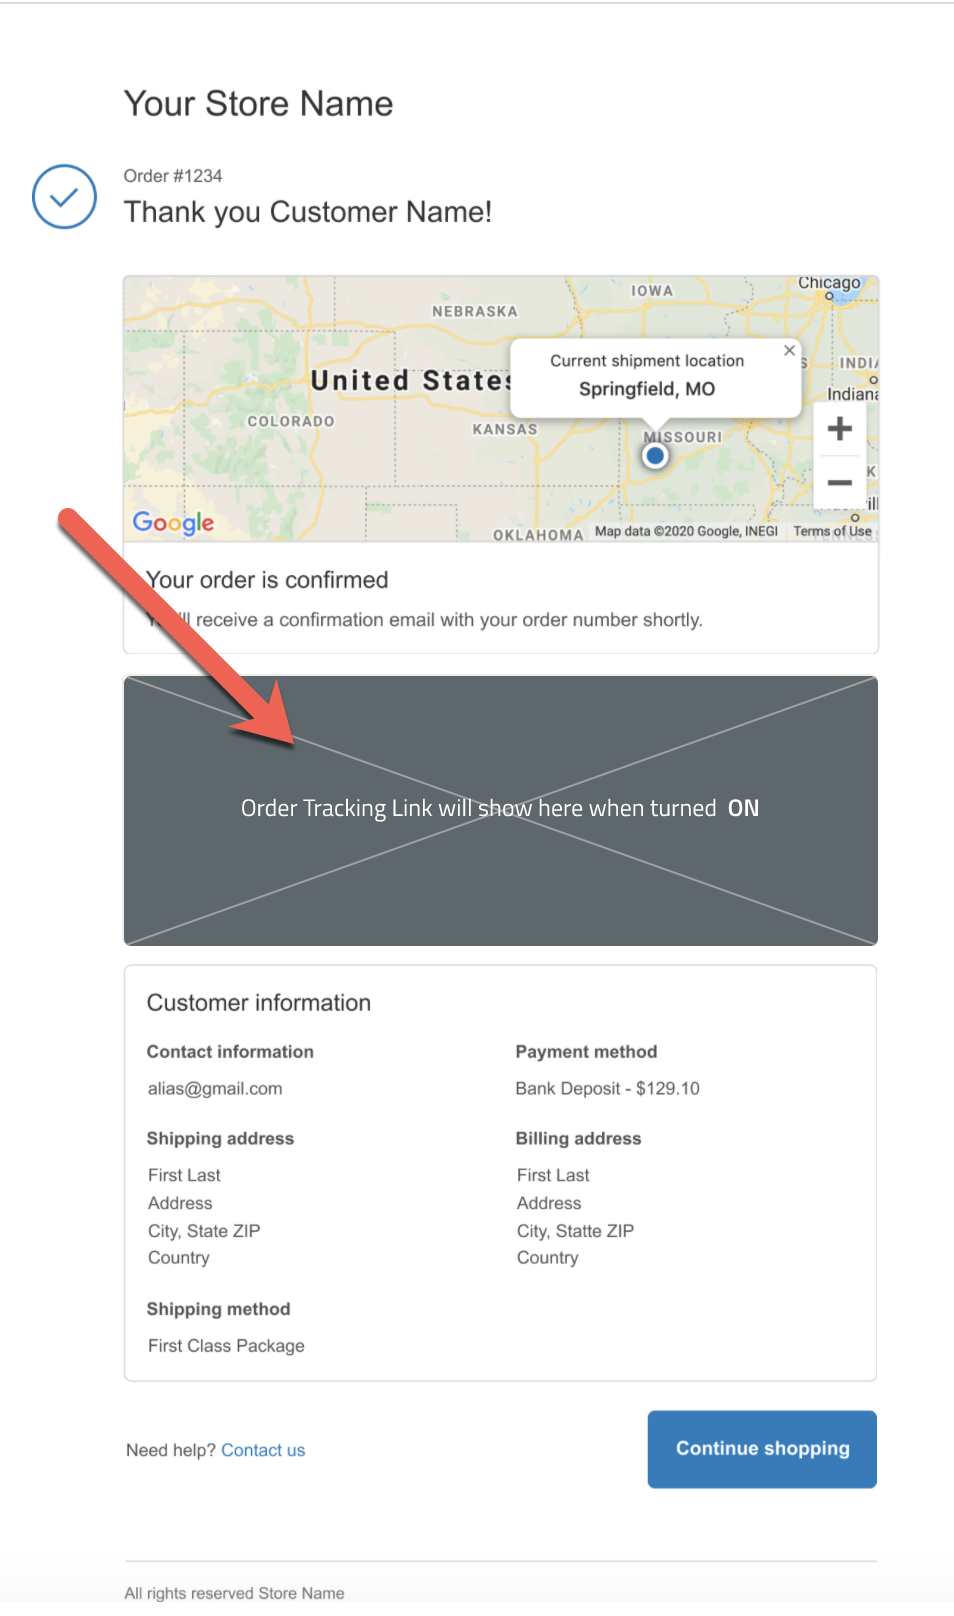
5. In the pop-up panel, you can see an example of the customer's experience on the left side. The Order Tracking Link will not show in the example until you turn it on.
6. To enable the Thank You Page Tracking Link, click the toggle to the right of Tracking Link.
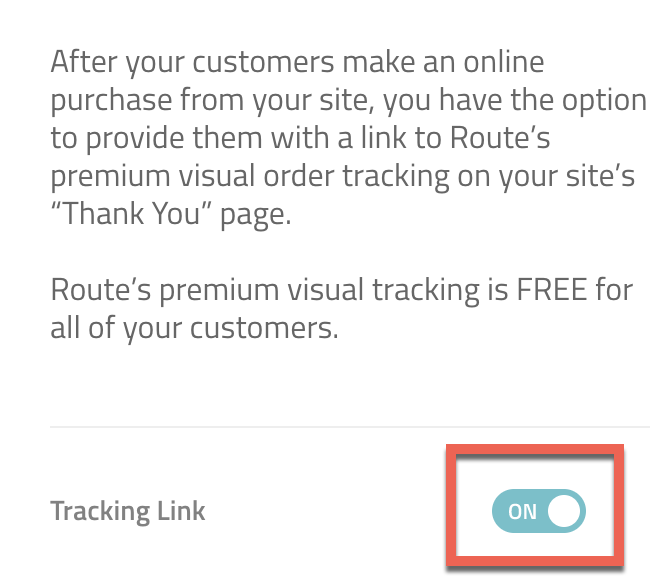
7. Once you've enabled it, the Order Tracking Link will show in the example. This is exactly what your customers will see on the Thank you page when they make a purchase.

8. Click Save.
Note: We are continually optimizing and running tests for multiple versions of the Thank You Page Tracking Link, so the design may change over time.


