Shopify Plus Self-install Swipe Package Protection on your store
This guide contains steps on how to implement the swipe asset on the checkout page on your Shopify Plus store.
Need some help? Not to worry! All merchants have access to free, expert implementation from the swipe team. Reach out through this form, and our merchant support team will file a request on your behalf.
- Log in to Shopify.
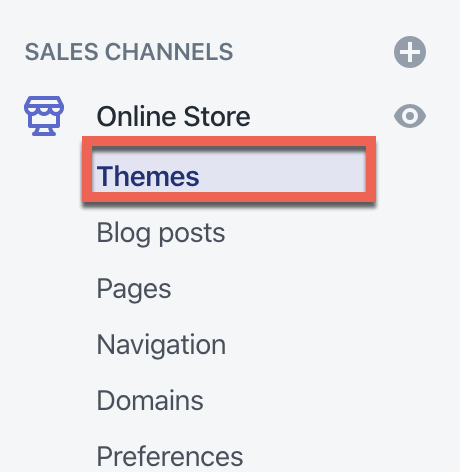
- Click on Online Store > Themes on the left side of the page.
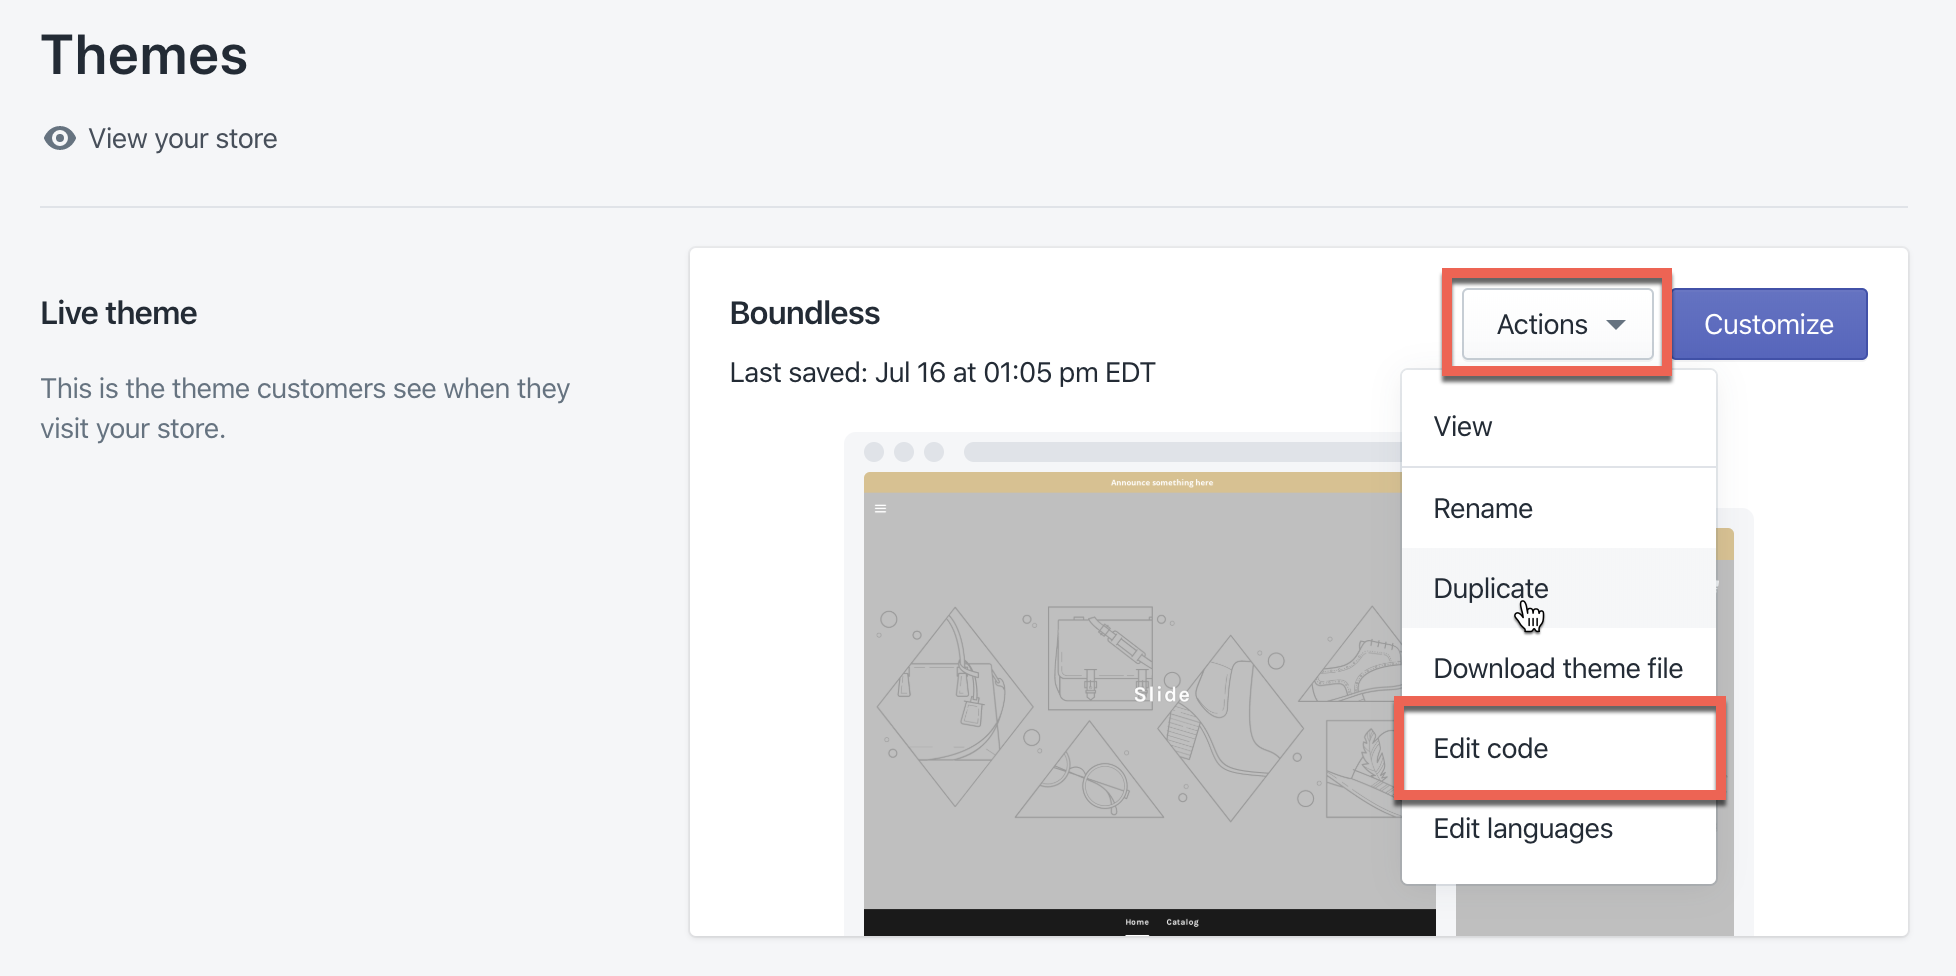
- On the Live theme, click on Actions and then Edit code.
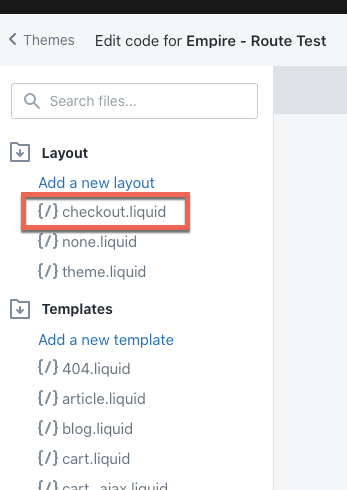
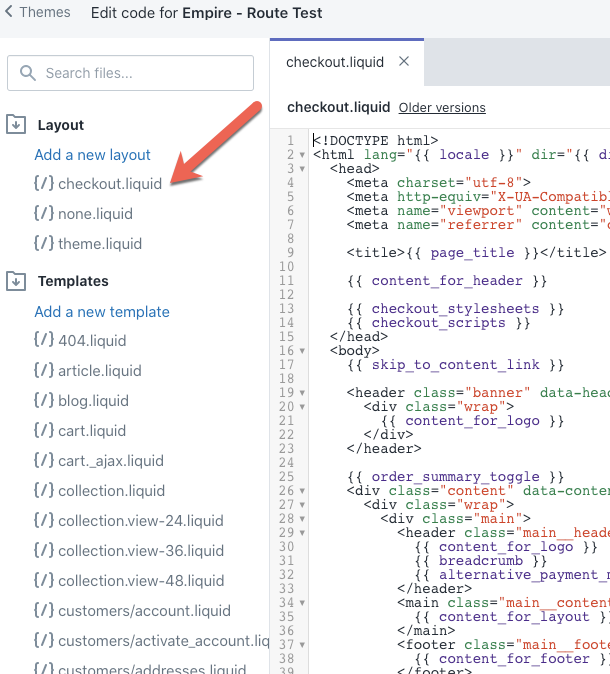
- On the left side of the page, under Layout, look for a file called checkout.liquid .
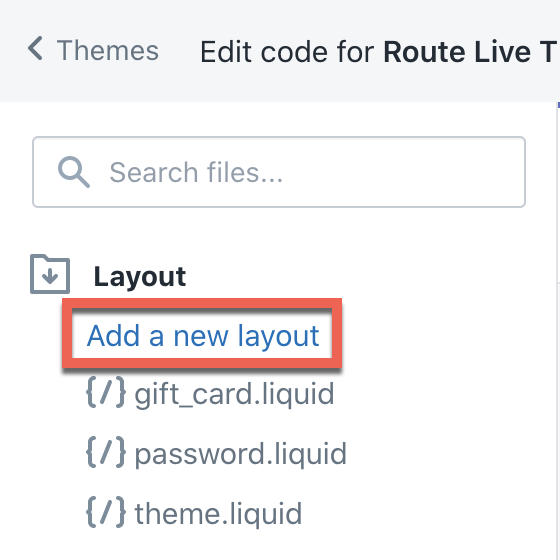
- If you do not see checkout.liquid file as an option, click Add a new layout.
-
In the Add a new layout window, click on the drop-down menu and choose checkout.
NOTE: If you do not see checkout as an option in the drop-down menu, follow the steps in this article.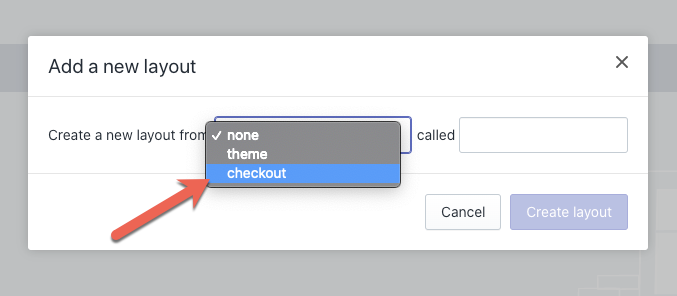
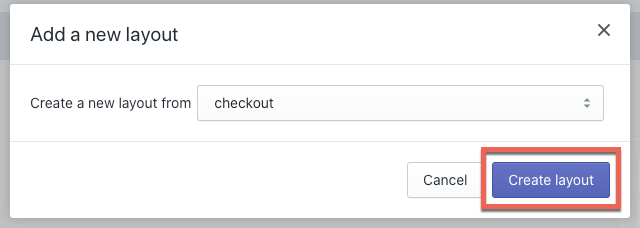
- Click Create layout.
- The checkout.liquid file will then appear on the left side.
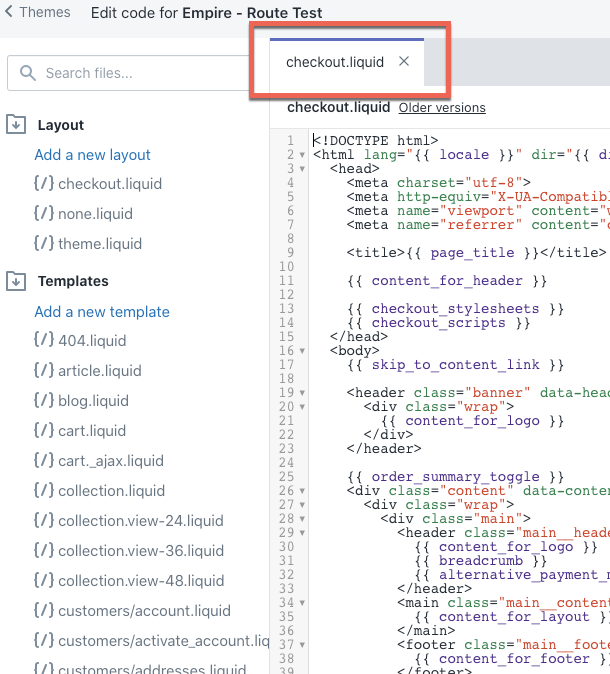
- The checkout.liquid file should automatically open. If it doesn't, click on checkout.liquid and it will appear on the right side.
- In the code, find the <head></head> block of code.

-
Copy and paste the code listed below at the very bottom of the head block.
<!--swipe Code Edited _/_/2020-->
<script type="text/javascript" src="https://cdn.swipeapp.io/swipe-widget-shopify/v2/swipe-widget-shopify-stable-v2.min.js"></script>
<style>
.swipe-widget {
justify-content: flex-end !important;
}
</style>
<!--End swipe Code-->
- After pasting the code, it should look like the screenshot below.

- Click Save.

- Open the Preview in Google Chrome's incognito mode and test the checkout to see if the swipe asset appears above the Continue to payment button on the Shipping page.


